Azure VM Extension
To add Azure VM Extension you can use one of the following methods:
Prerequisites for installation are .NET 3.0 & above and IIS 7.0 & above.
Azure UI Portal
- Go to the webpage portal.azure.com and enter your login details.
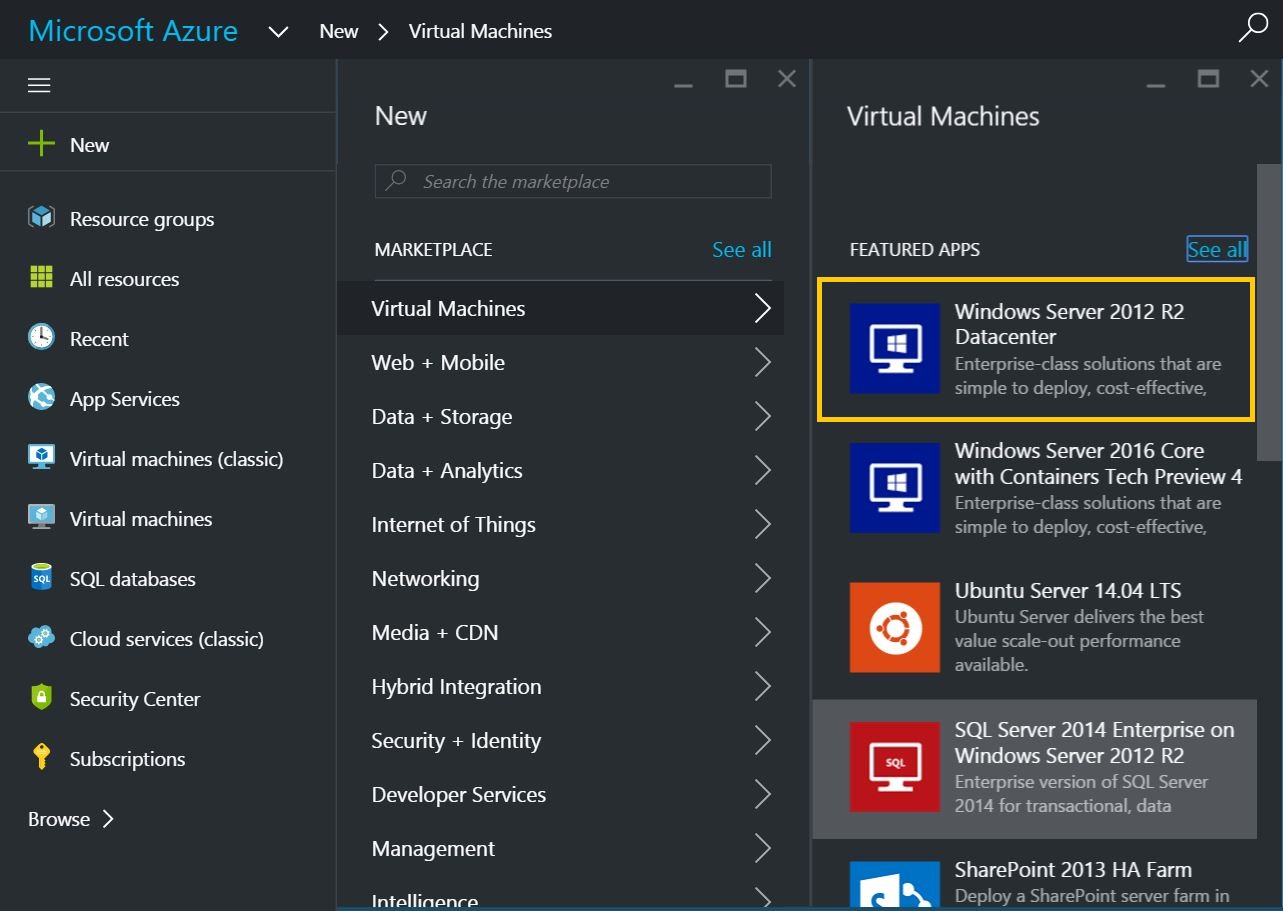
- Create a new VM, navigate to New > Virtual Machines > select any of the Windows apps listed for adding APM Insight.
 Note
NoteYou can also add a new VM by navigating to Resource Groups > Add (+) > Select any of the Windows Server apps listed.
- In case you already have an existing VM in Azure, navigate to Virtual Machines >select the VM to which you want to add the extension.
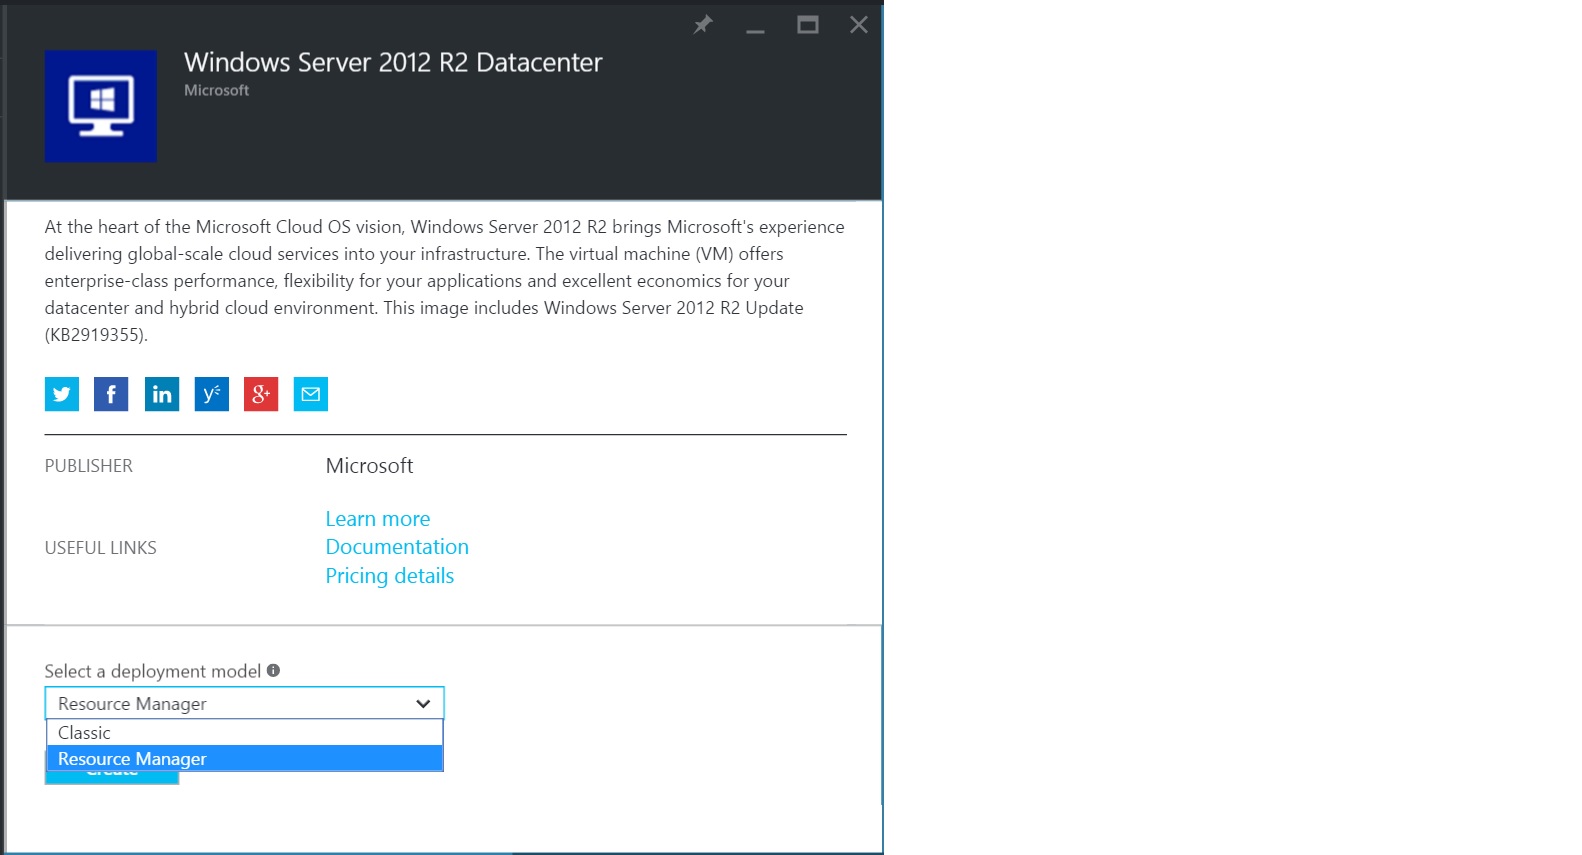
- Choose the deployment model (Classic/resource) > click create.
- Configure basic settings, size of VM and other optional features.
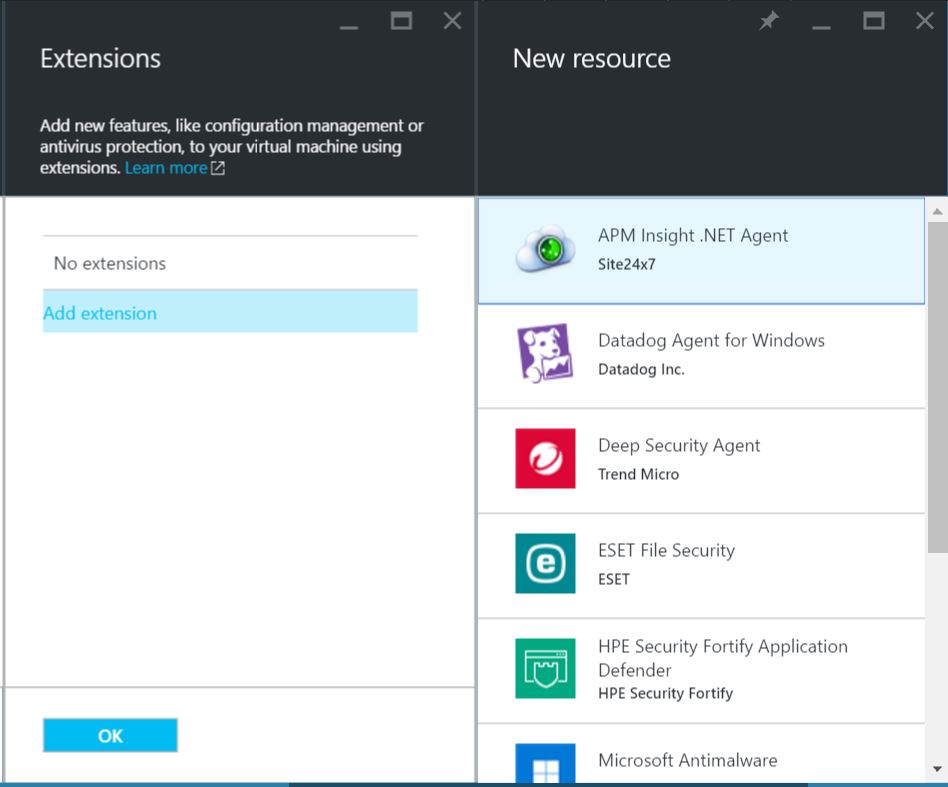
- Under Settings tab, go to extensions > Add Extension(+) > APM Insight .NET agent.
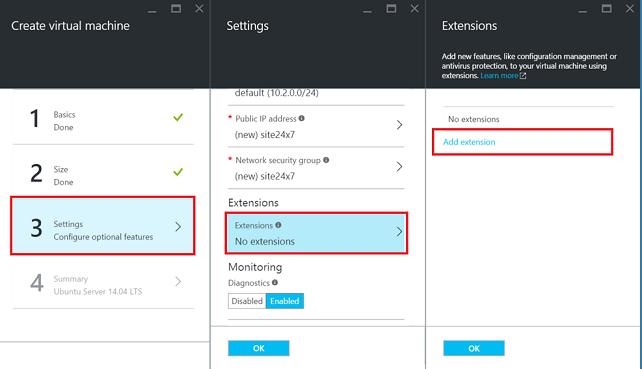
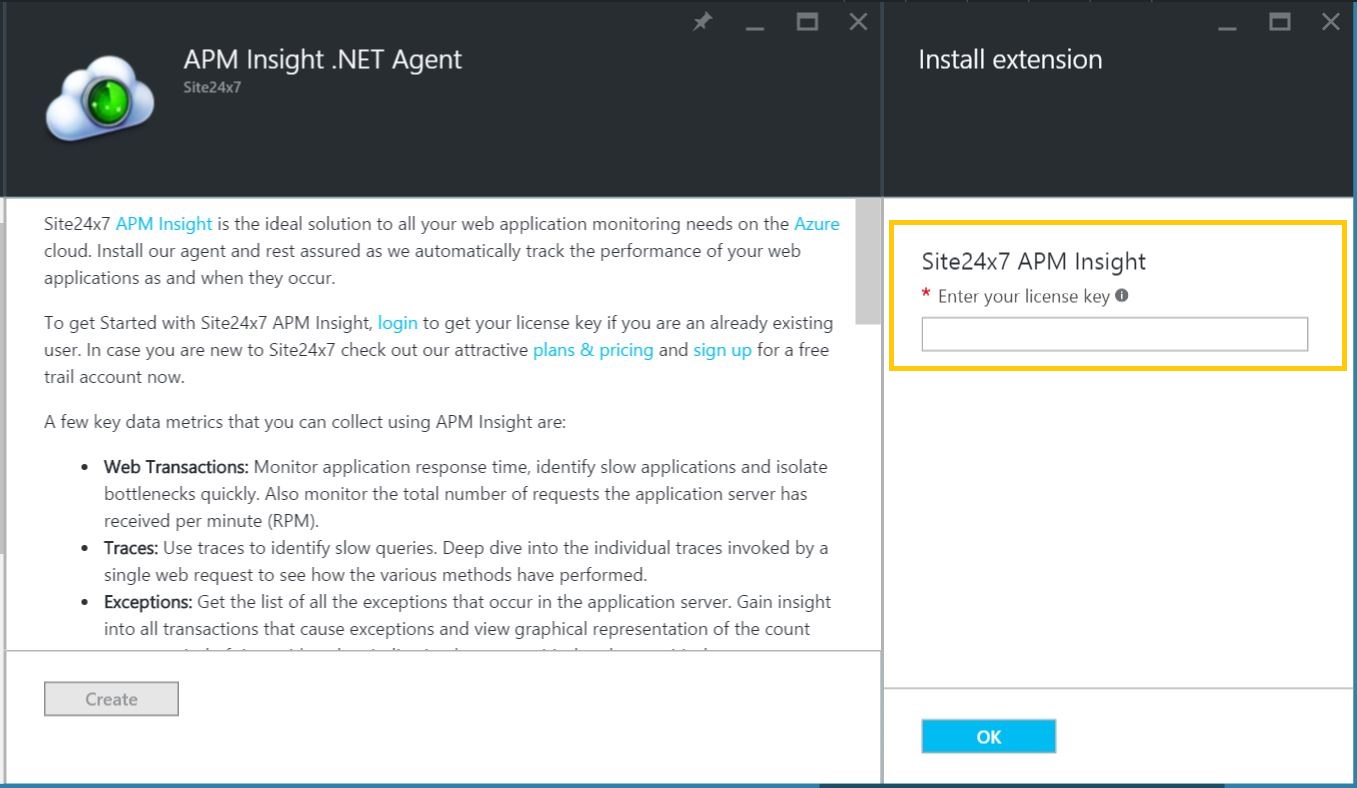
- To authenticate the .NET agent, a license key is required. Login to Site24x7 and navigate to APM > Add APM Insight > .NET Agent > License key in your Site24x7 client. Sign up if you are a new user.
- Click Create.
- Enter the obtained license key in the field provided. Click OK.
- You can now view your monitor on your dashboard and start monitoring all your critical metrics.
Powershell CmdLet
Prerequisite:
Make sure the Azure PowerShell SDK is installed and supported from version 2.6 and above
Currently adding a Classic VM Extension via the portal has some technical issues. We are working with Microsoft to get it resolved. In the meantime, you can use the powershell command given below to add the extension.
Using Powersehell CmdLet you can add Azure VM Extension for:
Adding a VM extension for Classic VMs via PowerShell:
- Login to Microsoft Azure portal by entering the command
Login-AzureAccount
- After logging in, execute the command
PS>$vm = (Get-AzureVM -ServiceName <cloudservicename> -Name) Set-AzureVMExtension -ExtensionName


PS>Site24x7ApmInsightExtn -Publisher Site24x7 -Version 1.3 -VM $vm -PublicConfiguration '{"site24x7licensekey":"enter your licensekey"}' -ReferenceName Site24x7ApmInsight


PS>$vm | Update-AzureVM
- "site24x7licensekey" is the License key that can be obtained from APM > Add APM Insight > .NET Agent > License key.
- The Publisher, ExtensionName and the Version in the command string should not be changed.
- The user can modify -ReferenceName that will be visible in the Extension portal (Settings > Extensions).
Removing Classic VM extension:
Remove-AzureVMExtension -ExtensionName Site24x7APMInsightExtn -Publisher Site24x7 -VM $vm;
Adding a VM extension for Resource Managers VMs via PowerShell:
- Login to Microsoft Azure portal by entering the command
Login-AzureRmAccount
- After logging in, execute the command
Set-AzureRmVMExtension -SettingString '{"site24x7AgentType":"azurevmextnapminsight"}' -ProtectedSettings '{"site24x7LicenseKey":"enter your licensekey"}' -Publisher Site24x7 -ExtensionType Site24x7APMInsightExtn -Version 1.3 -Name -ResourceGroupName -Location -VMName
- "site24x7licensekey" is the License key that can be obtained from APM > Add APM Insight > .NET Agent > License key.
- The SettingString, Publisher, ExtensionType and the Version in the command string should not be changed.
- The user can modify -Name that will be visible in the Extension portal (Settings > Extensions).
Removing a Resource Manager VM extension:
Remove -AzureRmVMExtension -VMName <vm name> -Name Site24x7APMInsightExtn -ResourceGroupName <resourcegroup name>
To get version and other properties of the extension (both Classic and Resource Manager):
Get-AzureVMAvailableExtension -ExtensionName Site24x7APMInsightExtn
To get the list of locations (both Classic and Resource Manager):
Get -AzureLocation
-
On this page
- Azure UI Portal
- Powershell CmdLet

